The SSO link allows direct access to a specific test with a Self-Enrollment Testing session on the YouTestMe application. To learn how to create a Self-Enrollment Testing session for a test refer to this article.
The SSO link can be accessed through three different approaches. This article explains how to obtain SSO links for signing into a test. For instructions on generating an SSO link using Microsoft Azure, refer to this article. For instructions on generating an SSO link using Okta, refer to this article.
Gaining access to an SSO link on the test
You will be able to gain access to the SSO link directly on the test.
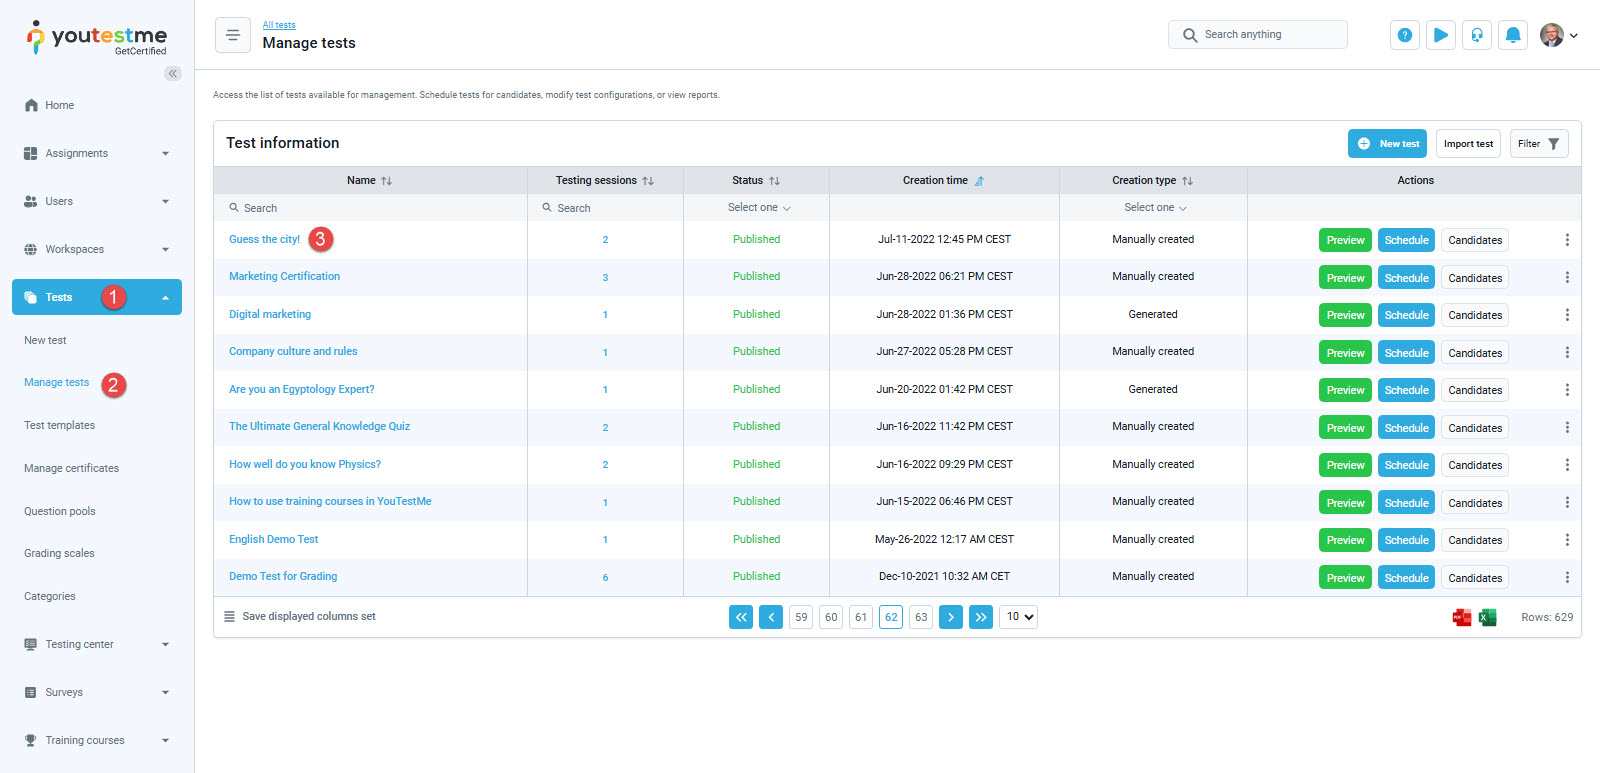
- Go to Tests.
- Open the Manage Tests page.
- Open the test that has a self-enrollment testing session.
- Make sure that you are on the Basic Information tab.
- Click on the “Options” button.
- Click on the “Show direct access links” option.

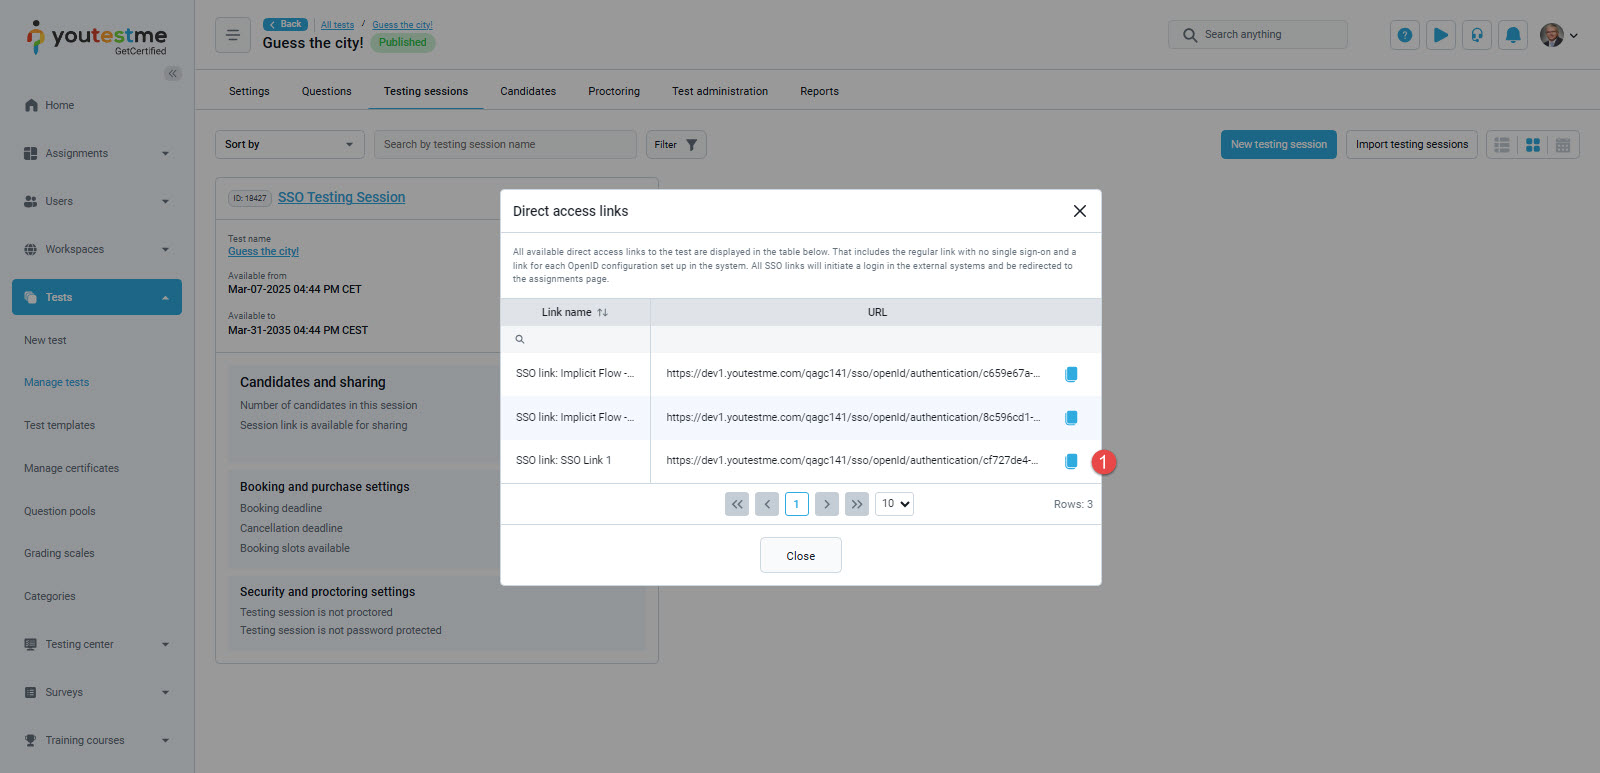
After opening the Direct access links dialog, do the following:
- Copy the URL of the link and open it.

Alternatively, you are able to get access to an SSO link on the Testing Sessions menu of the test
To gain access to an SSO link on the Testing Sessions menu on the test, do the following:
- Go to Tests.
- Open the Manage Tests page.
- Open the test that has a self-enrollment testing session. To learn how to create a Self-Enrollment Testing session visit this article.
- Navigate to the “Testing Sessions” menu of the test.
- Navigate to a Testing session and click on the three dots on the top right part of a session.
- Hower over the “Sharing” option of the dropdown menu.
- Click on the “Share direct access link” button.

After completing the previous steps, do the following:
- Navigate to a Testing session and click on the three dots on the top right part of a session.
- Hower over the “Sharing” option of the dropdown menu.
- Click on the “Show SSO direct access links” button.

After opening the Direct access links dialog, do the following:
- Copy the URL of the link and open it.
Gaining access to an SSO link on the Testing Sessions page
The second way of gaining access to an SSO link is on the Testing Sessions page. To gain access to an SSO link on the Testing sessions page, do the following:
- Click on the Testing Center
- Open the Testing Sessions page and navigate to a Testing session that has a self-enrollment feature enabled. To learn how to create a Self-Enrollment Testing session visit this article.
- Click on the three dots on the top right part of a session.
- Hower over the “Sharing” option of the dropdown menu.
- Click on the “Share direct access link” button.

After sharing the direct access link, do the following:
- Click on the three dots on the top right part of a session.
- Hower over the “Sharing” option of the dropdown menu.
- Click on the “Show SSO direct access links” button.

After opening the Direct access links dialog, do the following:
- Copy the URL of the link and open it.

Starting the test
Starting the test using the SSO link generated using Microsoft Azure
1. After navigating to the SSO link you will be redirected to a login page. Insert credentials for your account and click the Next button.

2. Insert the password and click on the next button.
3. After a successful log-in, you will be redirected to the Youtestme.com application. On this page, you will be able to start the test by clicking on the “Start” button.

Starting the test using the SSO link generated using Okta
The application will redirect you to the Okta sign-in page. Enter your credentials and click on the Sign in button.

1. After a successful log-in, you will be redirected to the Youtestme.com application. On this page, you will be able to start the test by clicking on the “Start” button.


