Article verified for Release 12.5 on September 16, 2024.
The article provides guidance on altering user status within the system and explains each status category in detail.
Users can modify the status from two distinct locations within the application:
- Through the User Profiles tab.
- By accessing the individual user profile.
Changing the User’s Status from the User Profiles Tab
To view the list of users, navigate to the Users tab in the main menu and access User profiles and select List of all users tab.
To modify the user’s status:
- Check the box next to the username of the desired user.
- Click the Set Status To button and select the preferred status from the dropdown menu.
The user’s status will be updated, and the date and time of the status change will be visible in the Creation date column.
Changing the User’s Status from the User’s Profile:
Click on the username to access the user’s profile using the expand icon.
Click the Options button and select the desired status from the dropdown menu.
Comprehensive List of User Statuses:
- Active: Users with Active status have access to and can use the application.
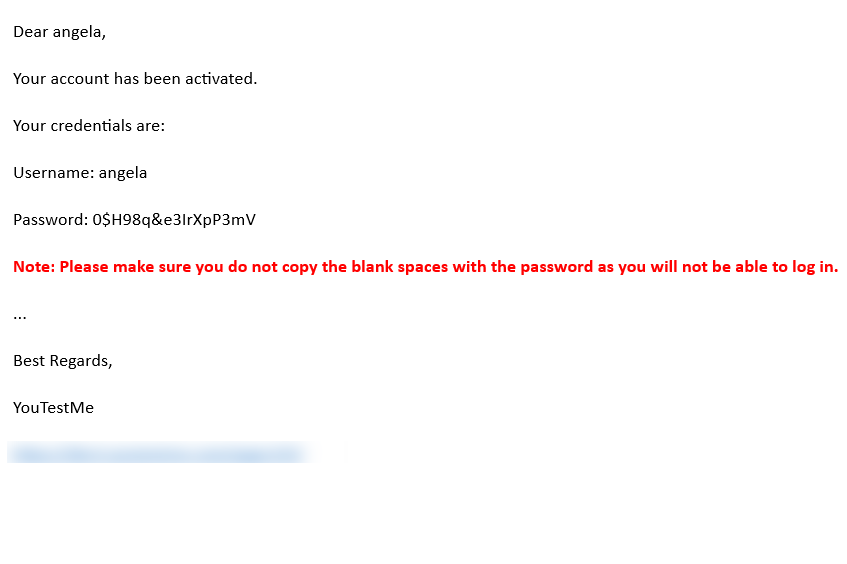
Note: Changing a user’s status to Active will trigger an email containing a new generic password. - Locked: Selecting this option locks the user’s account, requiring them to create a new password when they log in again. Additionally, an account can get locked if the user repeatedly enters the wrong password. The user can unlock the account by entering the correct password, or an administrator can change the status.
- Suspended: This option prevents users from accessing the application. However, user data and statistics are retained and visible if the account is reactivated.
- Inactive: Selecting this option deactivates the user’s profile. A deactivated profile removes the user from the system’s processes until it is reactivated.
Note: Inactive users won’t appear in the user profiles list unless the Show Inactive Users filter is activated.
To enable the Show Inactive Users filter, click the Filter button, check the box next to Show Inactive Users, and click the Apply button.
Candidate’s perspective:
The candidate will receive an email with their status updated.
For more useful instructional materials, please visit:


