Article verified for Release 15.0 on September 4, 2025.
This article explains how to use the notes feature during a test.
When enabled, this feature allows test-takers to add notes to individual questions. Notes can be used to track calculations, jot down thoughts, or leave reminders for later review.
Creating notes
Note: Depending on the test settings configured by the test administrator, the notes feature may be:
- Disabled – unavailable to test-takers.
- Enabled (Private) – only visible to the test-taker.
- Enabled (Persistent) – visible to both the test-taker and the test administrator in the candidate’s exam report.
To create a note during the exam:
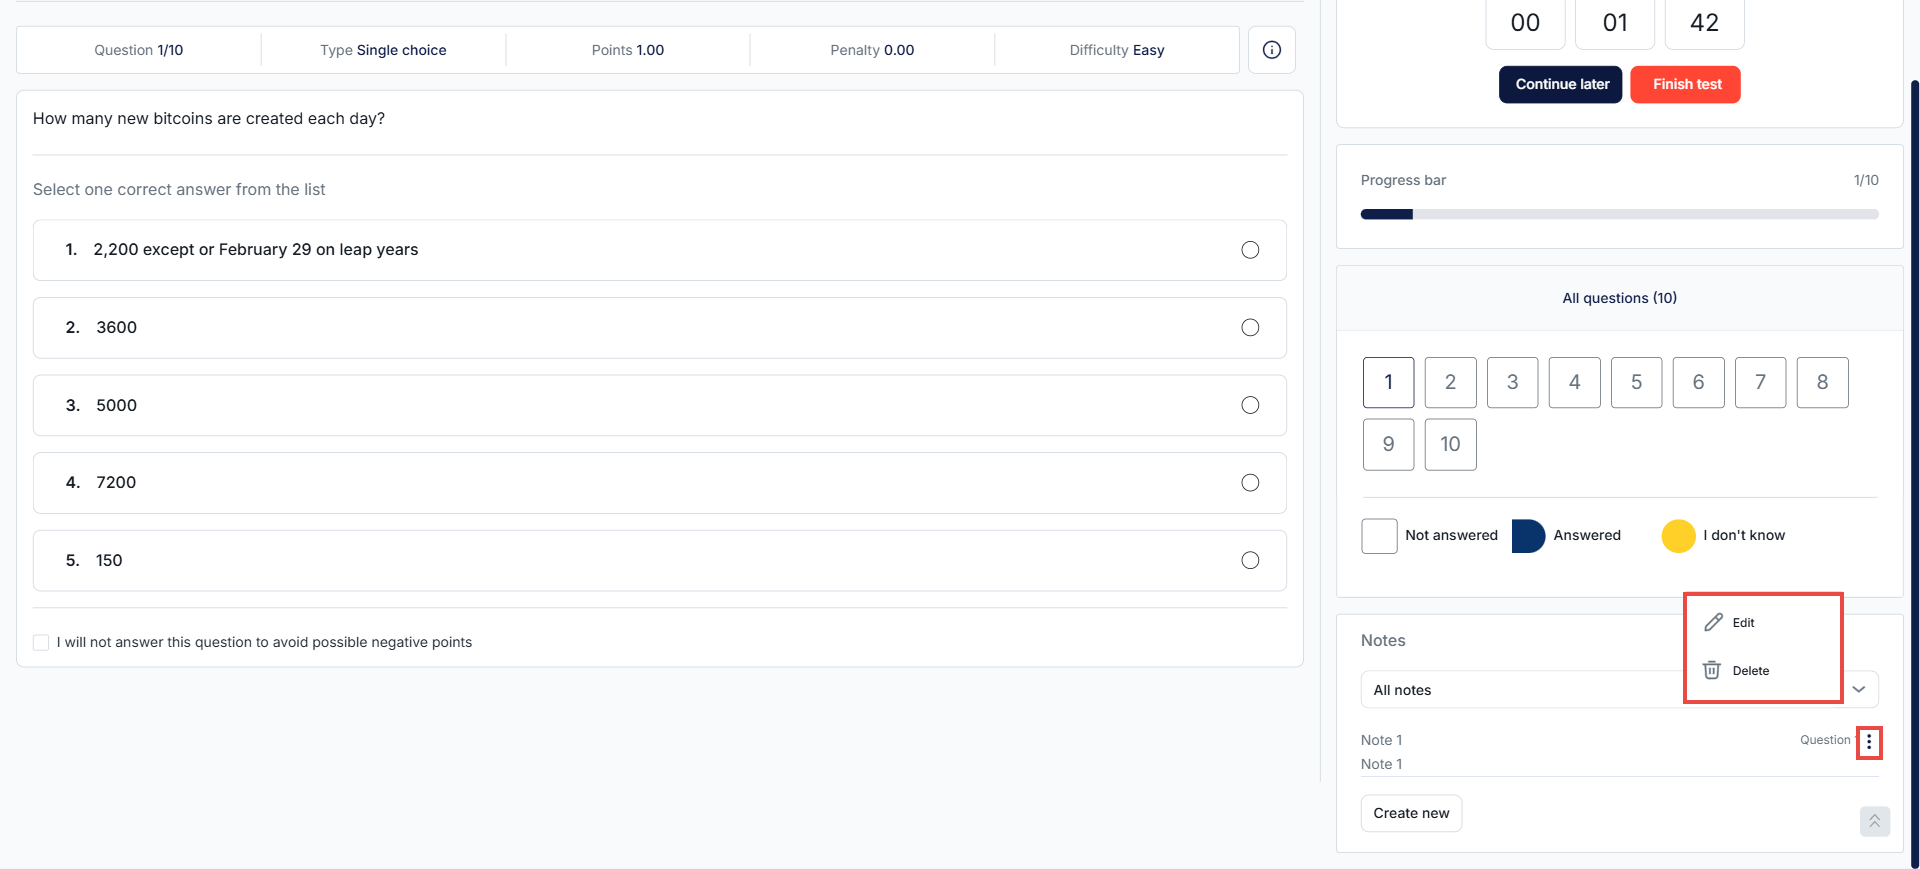
- Click the “Create New” button, located at the bottom-right corner of the exam page, below the question list.
- Enter your note in the text field.
- Click Save to store your note.

Once saved, notes will appear in the same section in the order they were created, and each note will be tagged with the corresponding question number.

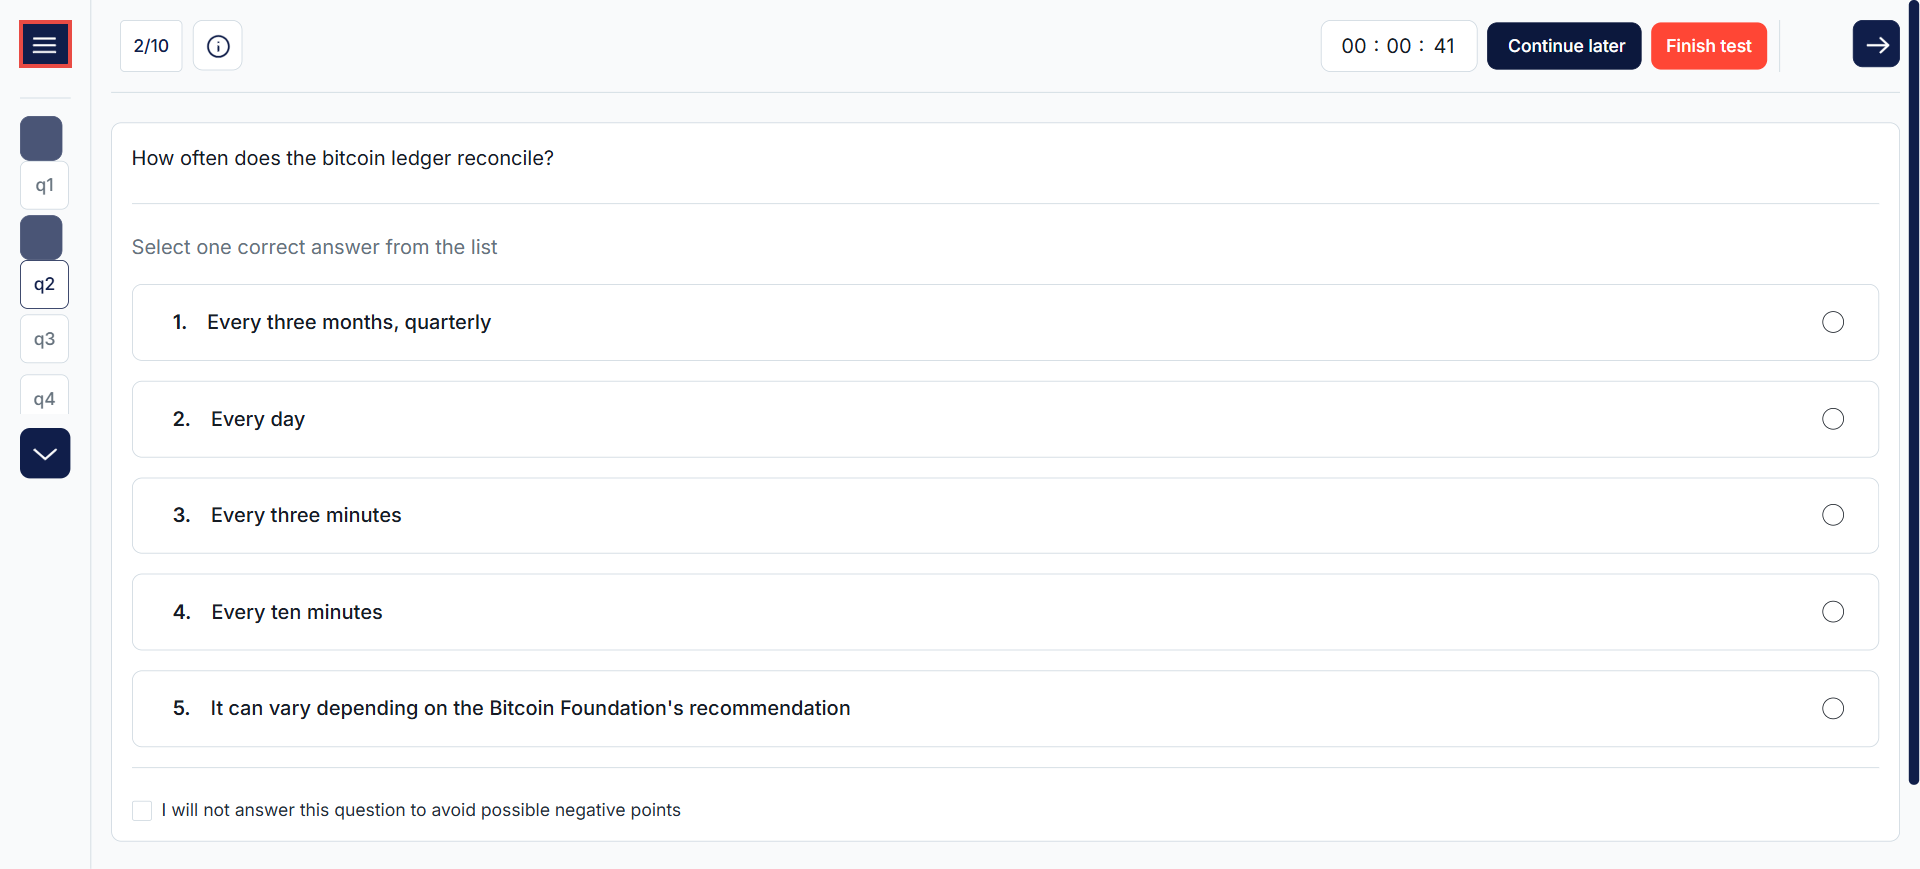
Depending on your screen size and layout, the questions list and notes section may be accessible through a hamburger menu (☰) on a smaller screen.
Tip: To view both the notes section and the question list on the same screen, try zooming out in your browser:
- Windows:
Ctrl+- - Mac:
Command+-
Managing Notes
To edit or delete a note, click the kebab menu (⋮) next to the note and select Edit to modify it or Delete to remove it.
For more related instructional materials, please visit:


