Article verified for Release 15.2 on February 16, 2026.
This article explains how to set a time limit for a personal report. A personal report includes the final test score and detailed information about the questions. By configuring the report lifespan, you can control how long candidates are allowed to access their detailed results before access is restricted.
Configure the lifespan of a report
From test settings
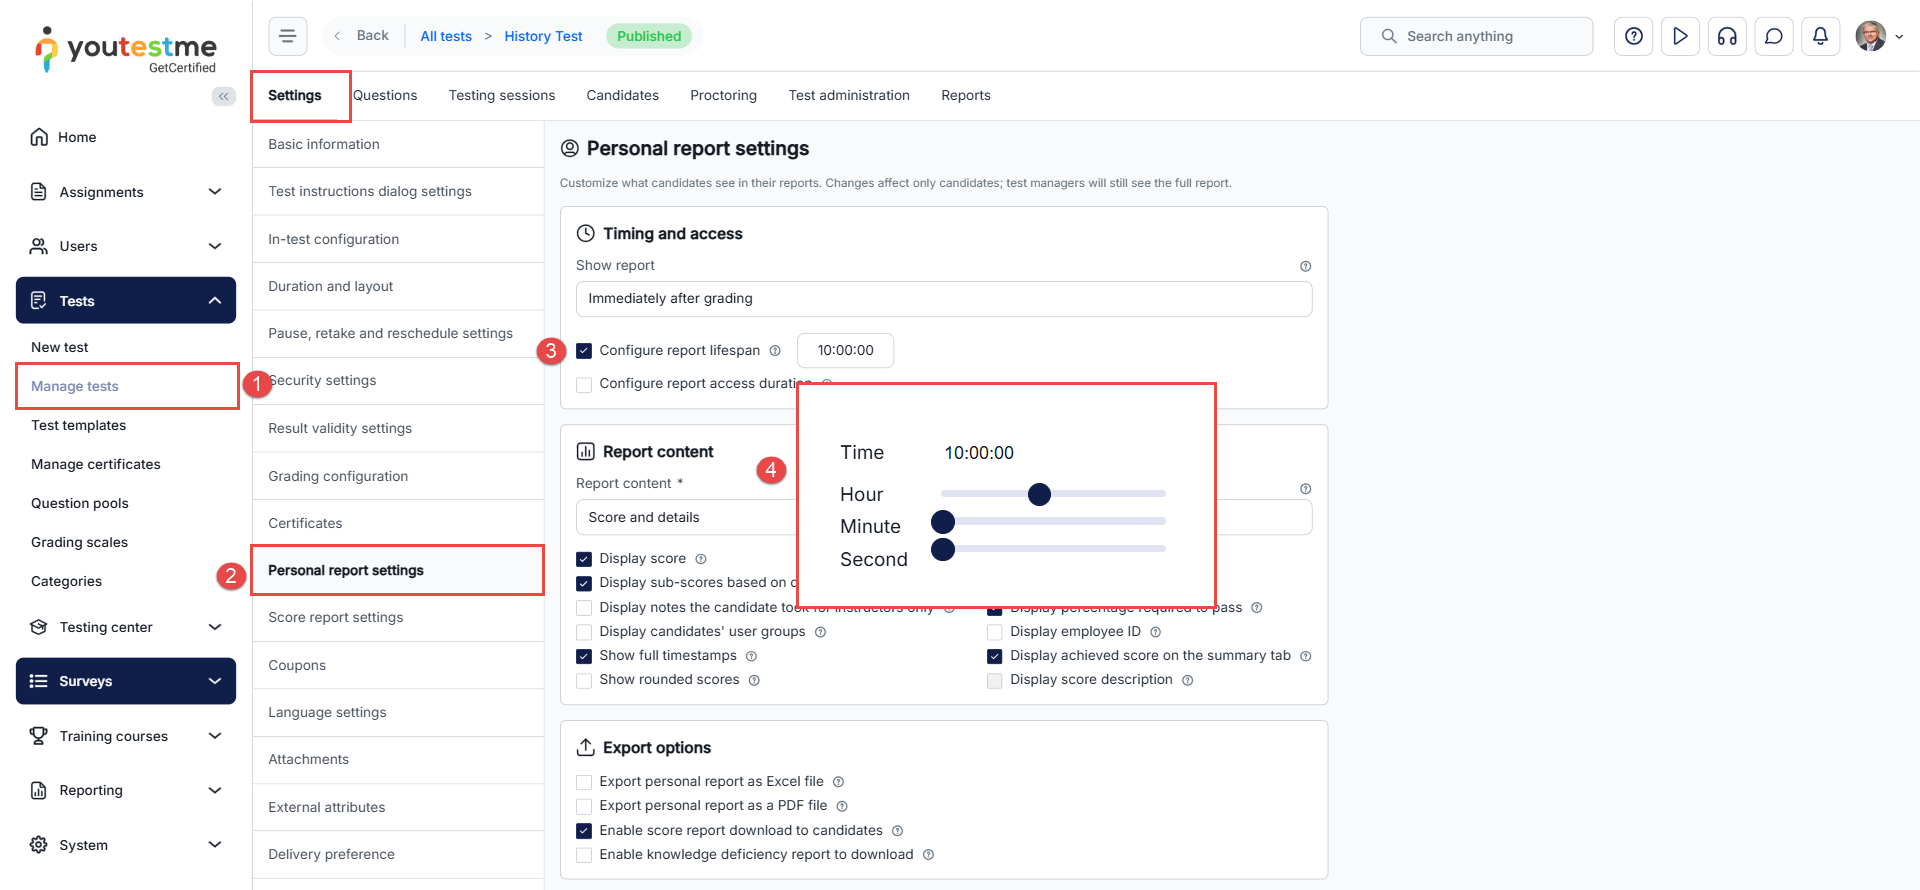
To set the lifespan of the personal report, follow these steps:
- Go to the Tests section from the main menu, open the Manage Tests sub-menu, and select the test you want to configure.
- Navigate to the Personal Report Settings tab within the test settings dashboard.
- Enable the Configure report lifespan option.
- Define the desired duration for the report’s availability.
Note: The Configure report lifespan option is available only when the Report content setting is configured to Score and details.
During the test creation
In the third step of the Test Creation Wizard, click the Show Advanced Settings button.
Within the Security and Data Control section, activate the Configure report lifespan option and specify the desired limit for the report’s lifespan.
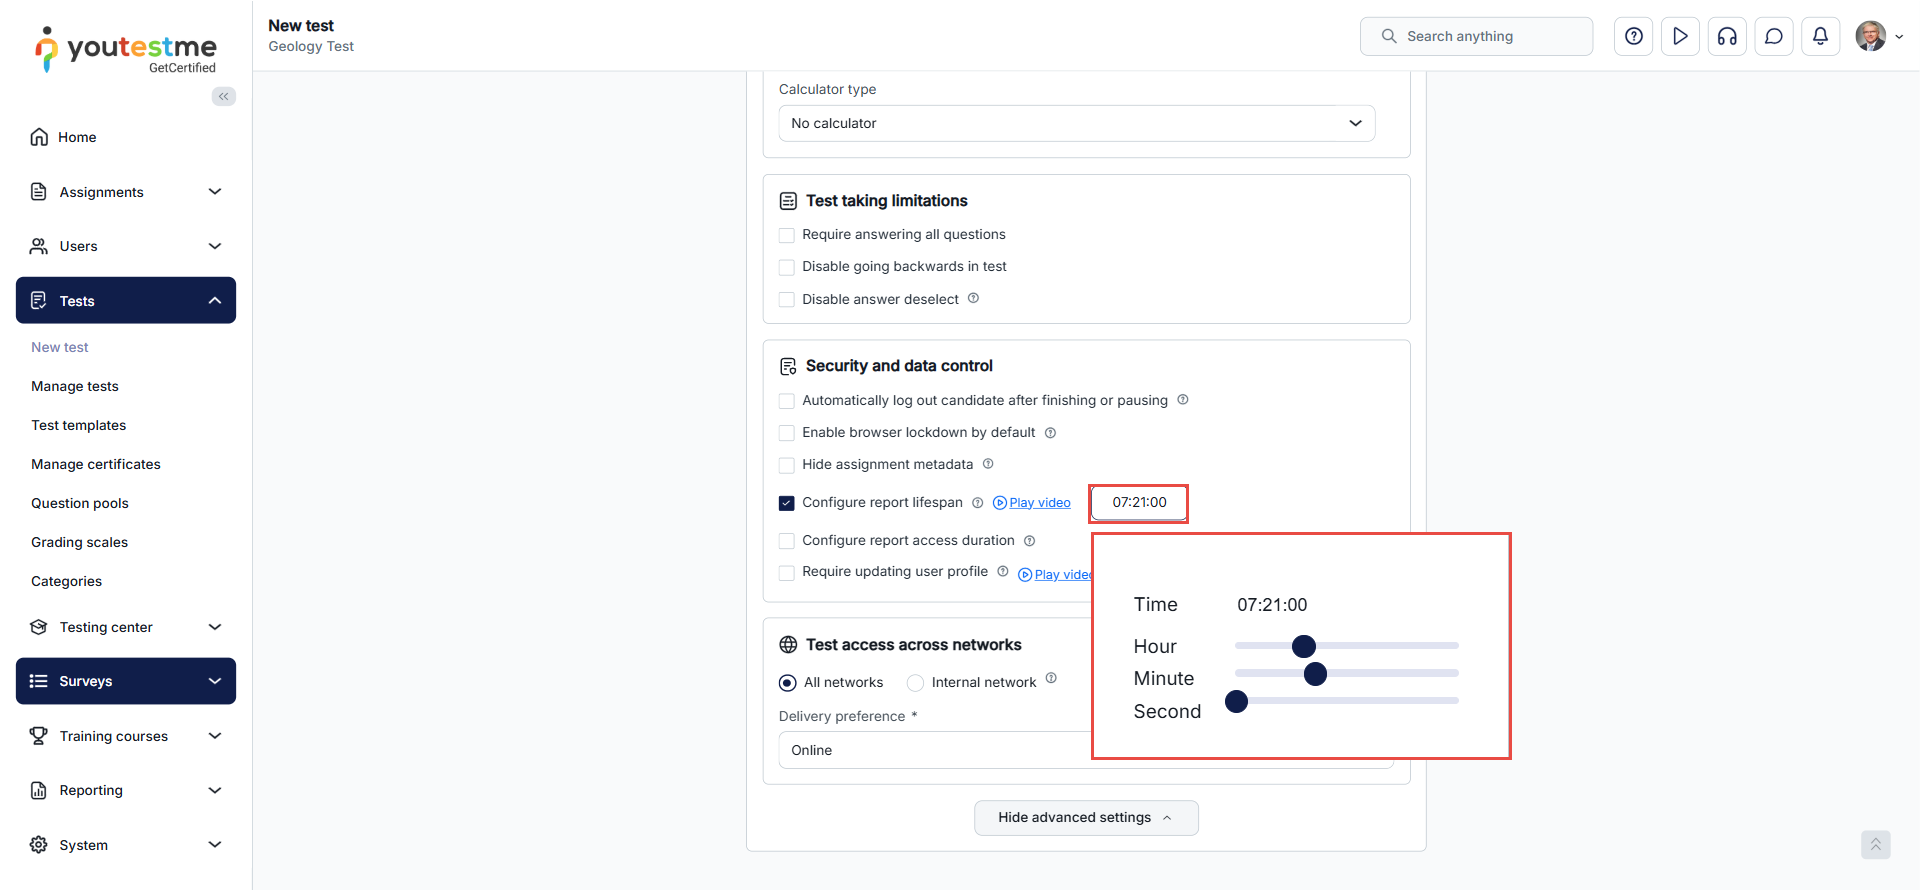
Note: The duration (lifespan) of a personal report will be limited to hours, minutes, or seconds as defined in the test settings. After the defined period expires, the candidate will no longer be able to see the report and question details.
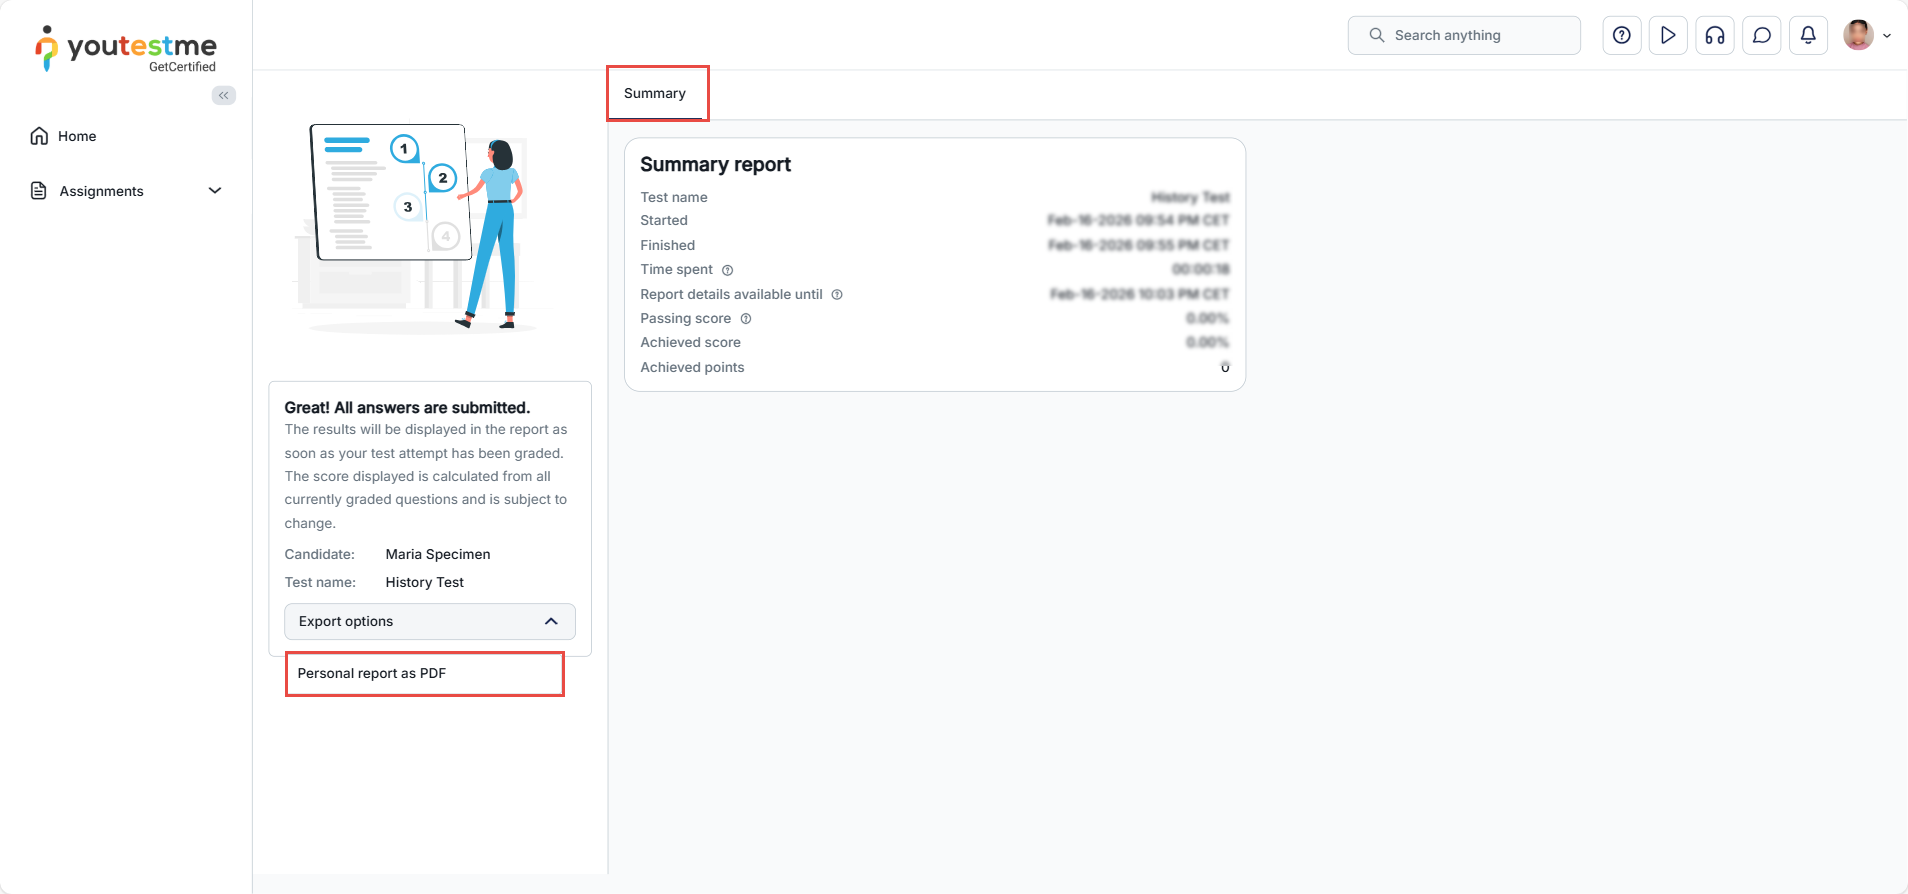
The personal report from the candidate’s perspective
After the report lifespan expires, users will no longer be able to access the test results or download the report. Instead, they will only have access to a summary score report.
For a video tutorial on how to time-limit candidates’ access to their reports, please watch the video.
For more related instructional materials, please visit:


