This article explains how to create a question with attachments.
The YouTestMe system allows users to create questions with multimedia attachments. Attachments can be added manually or through bulk import using the YouTestMe import feature.
Manually Creating a Question with Attachment
Uploading a Question Attachment
To create a question that includes an attachment, follow the steps below:
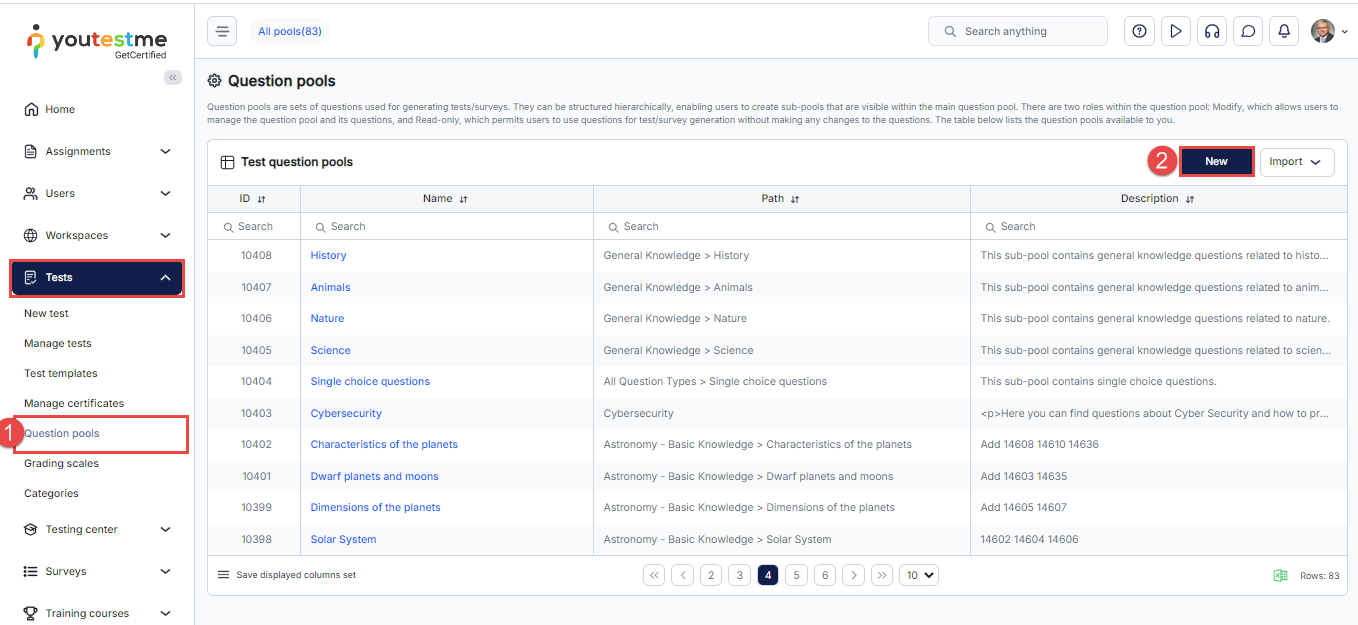
- From the main menu, select Tests, then click on Question Pools.
- Open the desired question pool or create a new one by clicking New.
- Navigate to the Questions tab and click Add Question to create a new question, or select Edit to modify an existing one.
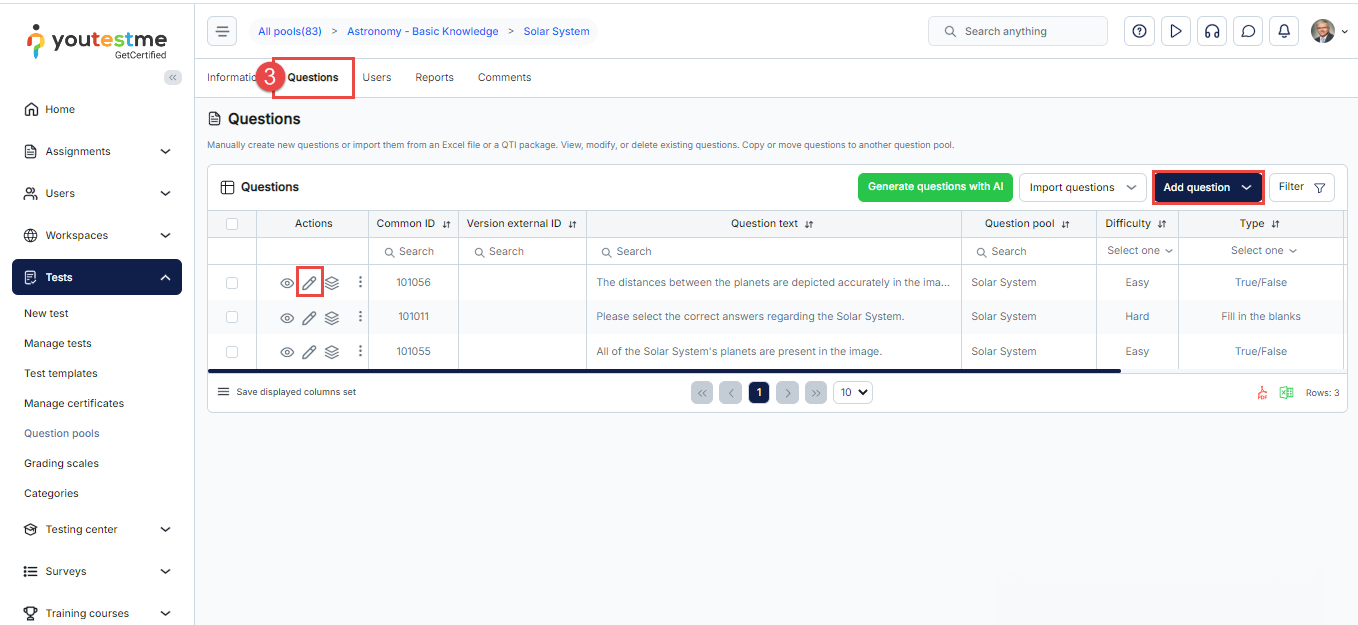
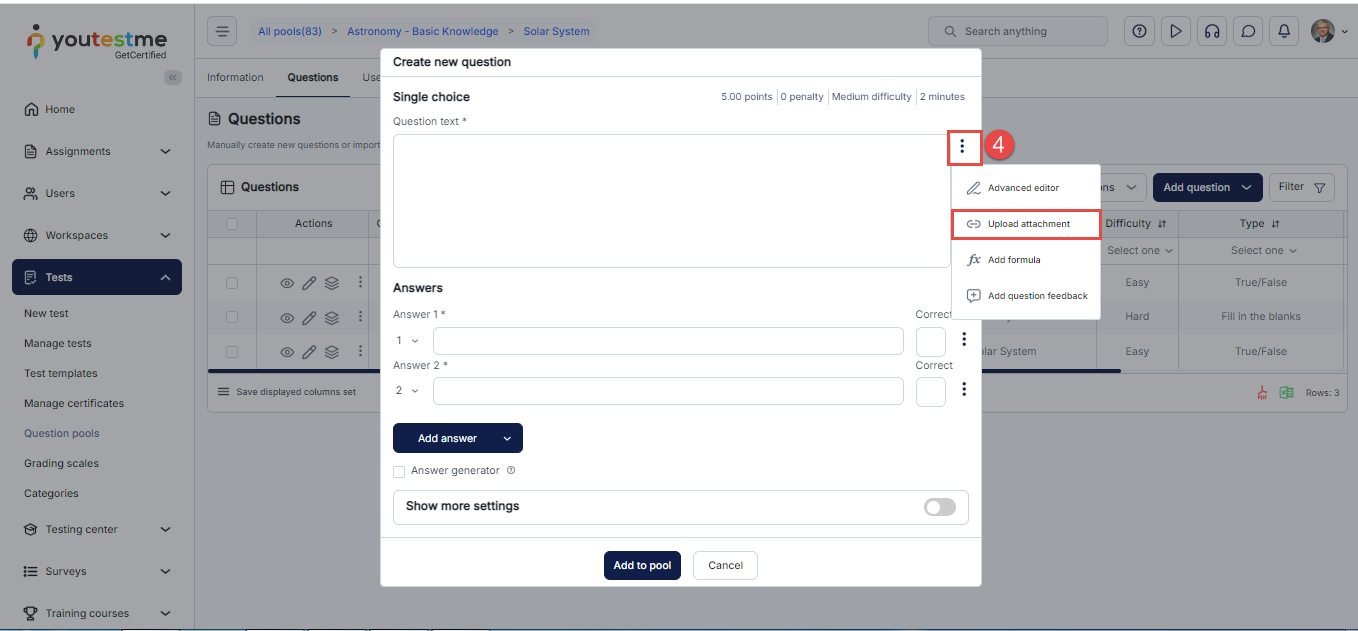
- In the question settings dialog, click the three dots icon next to the question text field and select Upload Attachment.
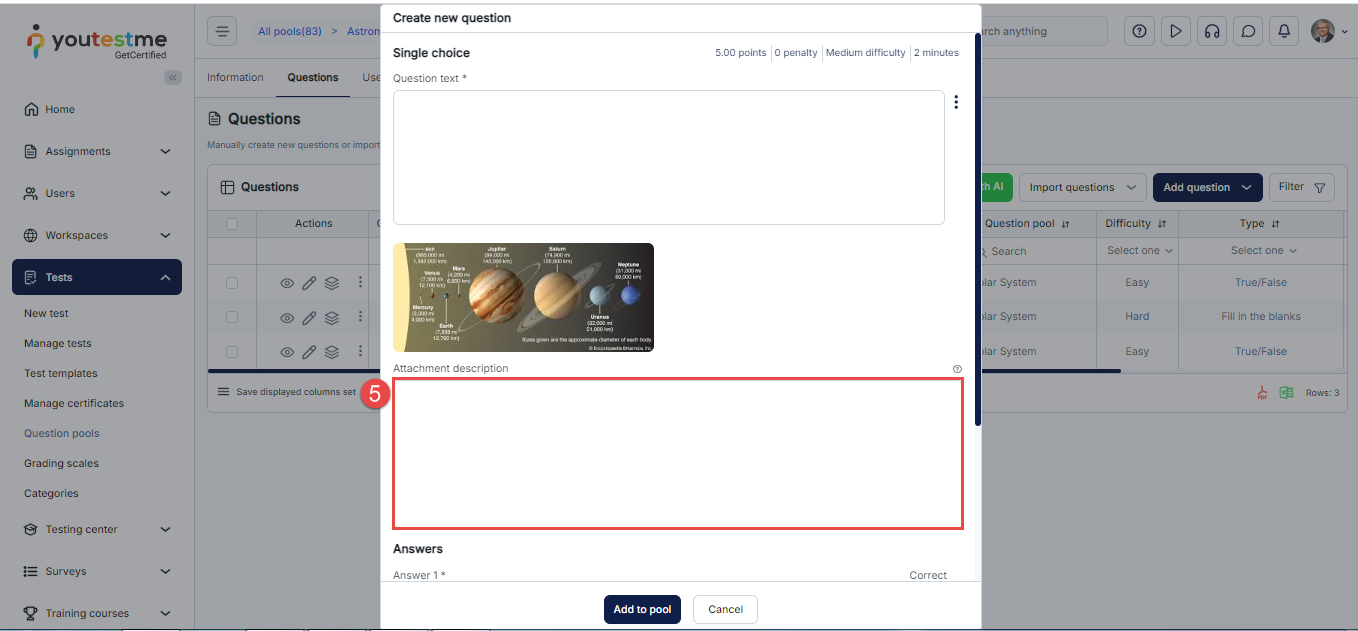
- Select a file from your local library. The attachment will appear below the question text. Optionally, add a short description.
You can change or remove multimedia attachments by accessing the same menu.
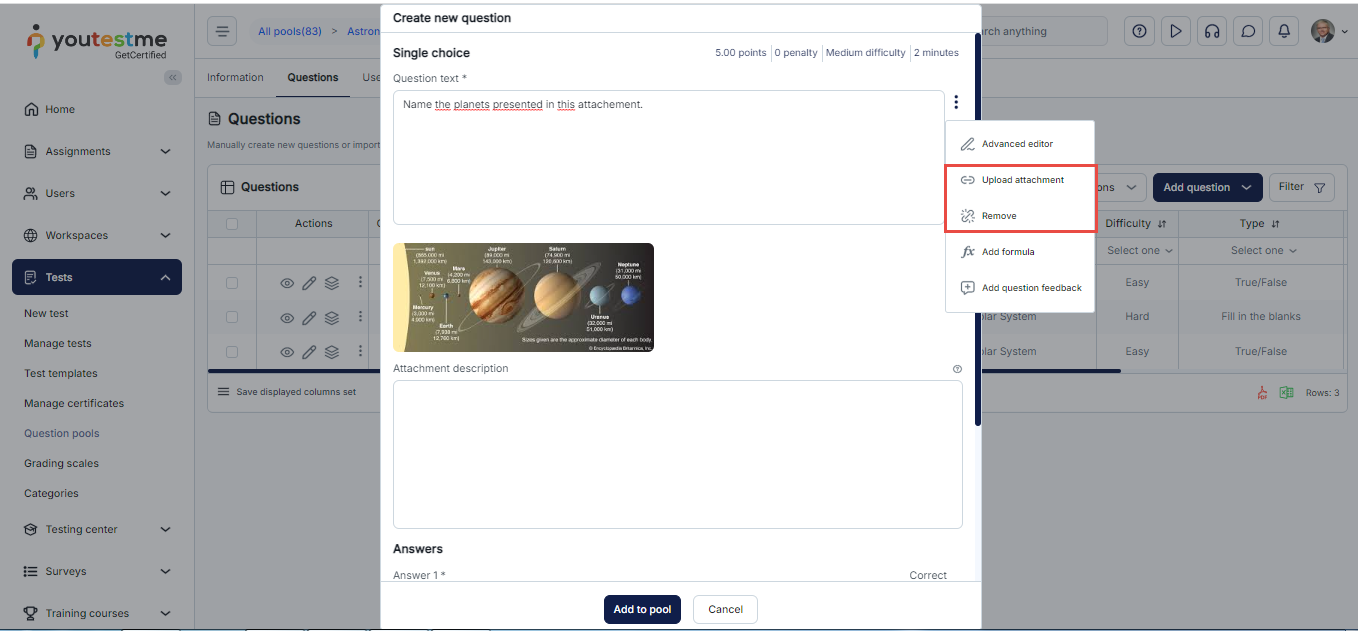
Note: This option does not support PDF, archive (.zip), or link files.
Adding Additional Attachments
To add PDFs, Links, Archives, or additional attachment types, follow the steps below:
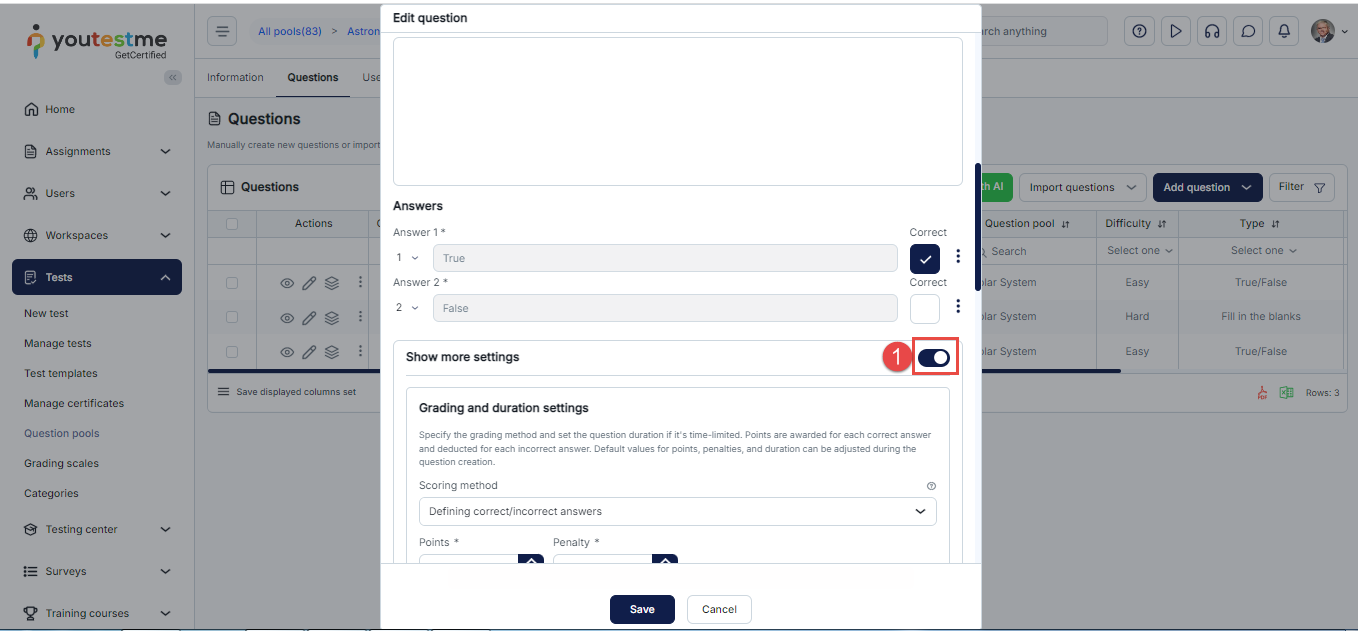
- Enable the Show More Settings option in the Question Settings dialog.
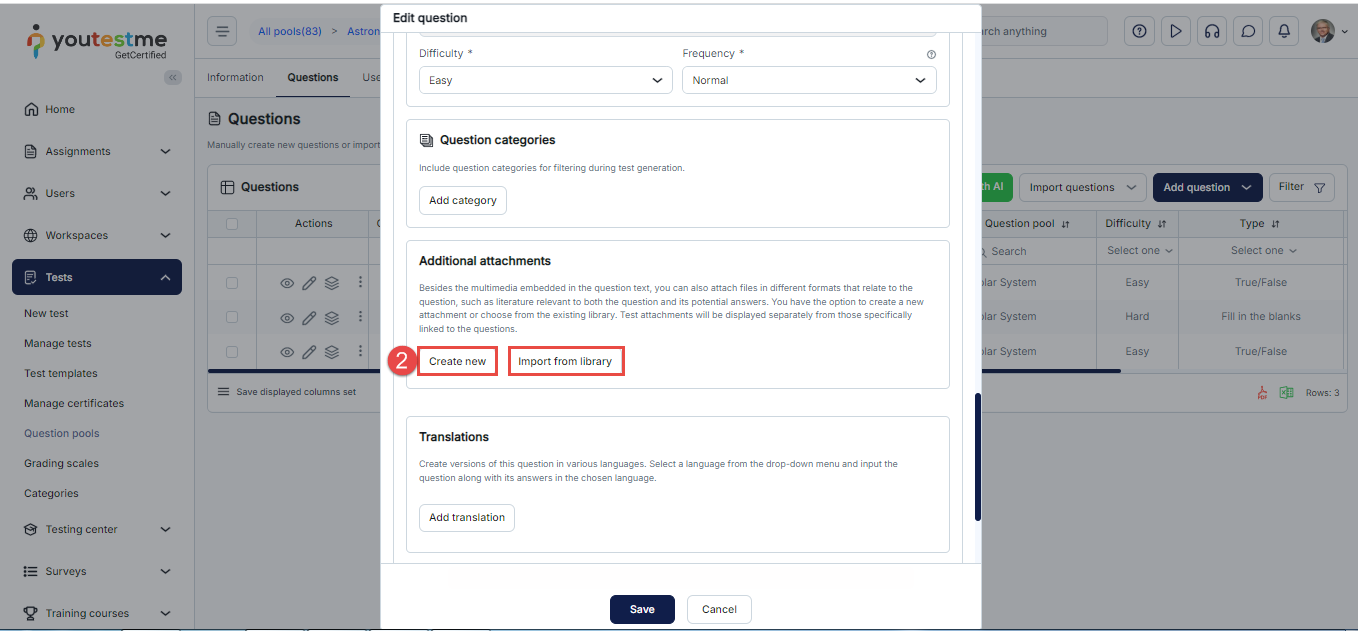
- Scroll to the Additional Attachments section and choose one of the following:
- Create New: Upload a new attachment directly from your local device.
- Import From Library: Select an attachment that has already been saved in the YouTestMe application library.
Creating a New Attachment
- In the Add Attachment dialog, enter the name of the attachment.
- Optionally enter the description.
- Define the attachment’s availability: Check the box next to “Attachment is available for any test creator” if you want the attachment to be accessible to all permitted users.
- From the Attachment Type dropdown menu, select the appropriate type and click Upload to import an attachment from your device. Note: Additional fields will be required depending on the selected attachment type.
- Click Save to add the attachment to the question and store it in the attachment library.

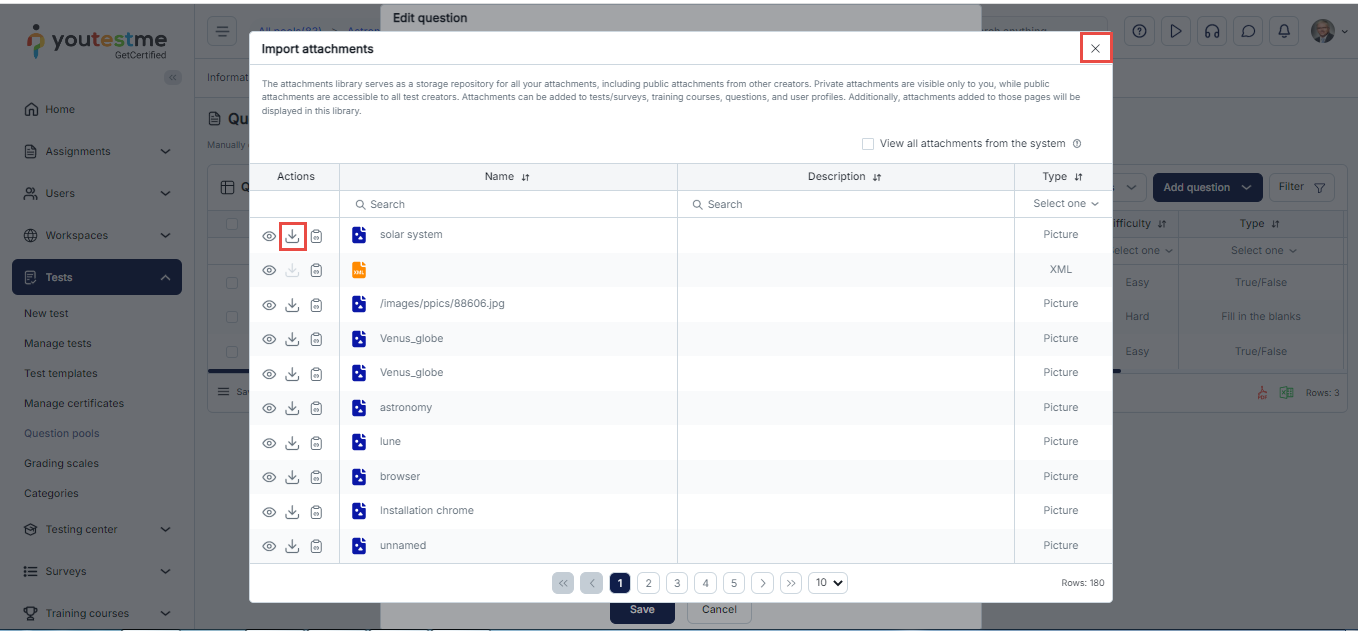
Importing an Attachment from the Library
To import an attachment, click Import From Library to open the list of available files stored in the system. Locate the desired attachment, then click the Import icon to add it to the question.
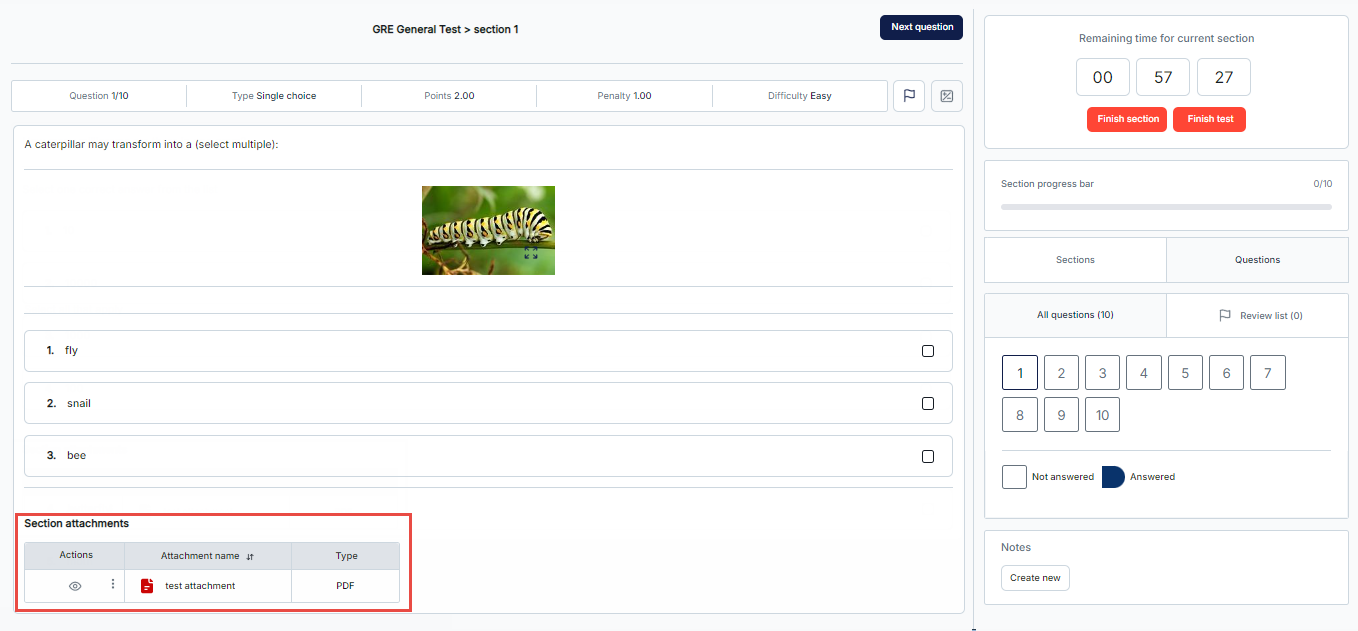
Candidate’s perspective
From the candidate’s perspective, the uploaded question attachment will appear directly below the question. Any additional attachments will be displayed in a table at the bottom of the exam page. To view these, candidates should click the Preview button next to each attachment.
Note: Additional attachments added to a question are only accessible at the question level during the test-taking process. If you wish to add an attachment that will be available across all questions in the exam, please refer to the instructions outlined in this article.
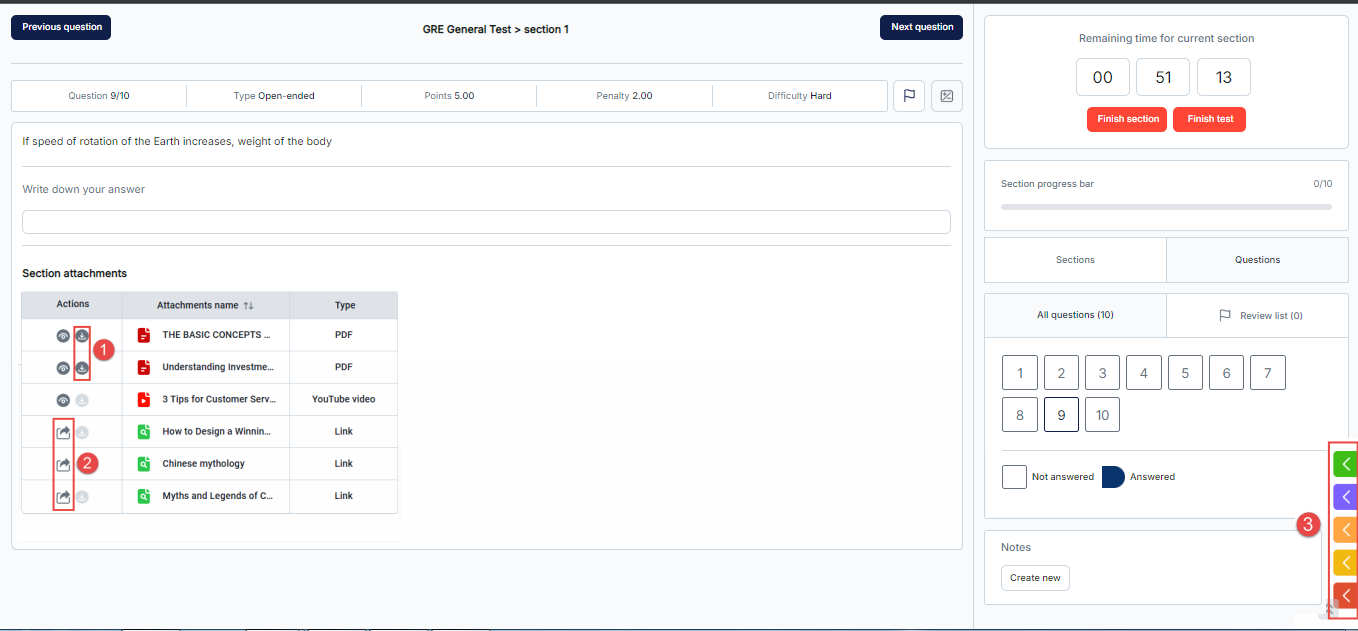
Additional interactions with attachments include:
- Download: Candidates can download the attachments when this action is permitted.
- Opening in a new tab: If the browser lockdown is disabled, link attachments can also be opened in a separate tab.
- Sidebar access: Link attachments are available in the sidebar on the right-hand side.
Note: This applies only to test-level and section-level attachments.
To see how to create question pools, please watch this video.


